Building the Perfect Deck: A Comprehensive Guide for Deck DIY Enthusiasts

Are you a DIY enthusiast looking to build the perfect deck for your outdoor space? Look no further! In this comprehensive guide, we’ll take you through the step-by-step process of creating a deck that not only enhances the aesthetics of your home but also provides a functional and inviting outdoor area.
From choosing the right materials to designing a layout that suits your needs, we’ll cover it all. We understand that every DIY project comes with its fair share of challenges, so we’ll provide you with expert tips and tricks to make the construction process a breeze.
Whether you’re a seasoned DIYer or just starting out, this guide is packed with valuable insights to help you achieve a deck that stands the test of time. We’ll explore different design options, discuss the pros and cons of various decking materials, and offer practical advice on maintenance and upkeep.
So grab your tools and get ready to embark on your deck-building journey with confidence. Let’s turn your outdoor space into a stunning oasis that you and your family can enjoy for years to come.
Planning and designing your deck
Designing your dream deck is the first step in creating a space that suits your needs and complements your home. Before you break ground, take some time to envision how you want your deck to look and function.
Start by considering the size and shape of your outdoor space. Measure the area where you plan to build your deck and take note of any existing features, such as trees or uneven terrain, that may impact your design. Think about how you will use your deck – will it be primarily for entertaining, dining, or relaxation? This will help you determine the layout and features you want to incorporate.
Next, it’s time to choose a style that matches your home’s architecture and your personal taste. Whether you prefer a traditional, modern, or rustic look, there are countless design options to consider. Browse through magazines, websites, and social media platforms for inspiration, and create a mood board to visualize your ideas.
Once you have a clear vision of your deck’s design, it’s time to create a detailed plan. Consider factors such as the placement of stairs, seating areas, and any additional features like built-in planters or lighting. Sketch out your ideas on paper or use online design tools to create a digital blueprint. This will serve as your guide throughout the construction process.
Tools and materials needed for deck construction
Now that you have a solid plan in place, it’s time to gather the necessary tools and materials for your deck construction. Having the right tools will make the process more efficient and ensure a professional finish.
Here are some essential tools you’ll need:
- Tape measure and level: Accurate measurements are crucial for a sturdy and level deck.
- Circular saw: This versatile tool will help you cut the decking boards to size.
- Drill and impact driver: These power tools are essential for drilling pilot holes and driving screws.
- Chalk line: Use a chalk line to mark guidelines for accurate installation.
- Speed square: This tool will help you ensure accurate and square cuts.
- Hammer and rubber mallet: Necessary for securing joists and decking boards.
- Safety gear: Don’t forget to protect yourself with safety glasses, gloves, and ear protection.
In addition to tools, you’ll also need to gather the right materials for your deck construction. The choice of materials will depend on your budget, maintenance preferences, and desired aesthetic. Here are some popular options:
- Pressure-treated wood: The most common and affordable option, pressure-treated wood is treated to resist rot and decay.
- Spotted Gum or Blackbutt: These natural, rot-resistant woods offer a beautiful, warm-toned finish but require regular maintenance.
- Composite decking: Made from a combination of wood fibers and recycled plastic, composite decking offers low maintenance and durability.
- PVC decking: A synthetic option that is resistant to moisture, stains, and fading, PVC decking is a great choice for high-traffic areas.
Remember to choose materials that are suitable for your climate and intended use. Consult with a local supplier or contractor to determine the best options for your specific needs.
Preparing the site for deck installation
Before you begin the construction process, you’ll need to properly prepare the site where your deck will be installed. This involves clearing the area, assessing the soil conditions, and ensuring proper drainage.
Start by removing any existing vegetation, rocks, or debris from the site. Use a shovel or a rented excavator to dig down to the appropriate depth, taking into account any necessary slope for water runoff. The exact depth will depend on your local building codes and the type of soil in your area.
Next, it’s important to assess the soil conditions. If you have clay or unstable soil, you may need to take additional measures to ensure a stable foundation. Consider consulting with a professional engineer or local building department for guidance.
Once the site is cleared and the soil is prepared, it’s time to install footings or piers to support the weight of your deck. The number of footings required will depend on the size and design of your deck. Follow the manufacturer’s instructions for proper installation, and make sure the footings are level and aligned.
With the footings in place, you can now install the ledger board. This board will be attached to the exterior of your home and serve as the main support for your deck. Ensure that the ledger board is securely fastened and level.
Deck framing and joist installation
Now that the site is prepared and the ledger board is in place, it’s time to start building the frame of your deck. The frame, also known as the substructure of your deck, will provide the structural support for the decking boards.
Begin by installing the rim joists, which will form the outer edge of your deck. Use galvanized nails or structural screws to secure the joists to the ledger board and the end joists. Ensure that the rim joists are level and square.
Next, it’s time to install the interior joists. These joists will provide additional support for the decking boards and should be spaced according to local building codes. Use joist hangers or galvanized nails to attach the joists to the ledger board and the rim joists.
As you install the joists, be sure to check for level and square at each step. This will ensure a sturdy and even deck structure. Use a level and a framing square to make accurate adjustments as needed.
Once the joists are in place, it’s important to add blocking between the joists for additional support. Blocking will prevent the joists from twisting or warping over time. Cut the blocking to size and secure it between the joists using galvanized nails or screws.
With the frame and joists in place, take a moment to check for any wobbling or unevenness. Make any necessary adjustments before moving on to the next step.
Decking material options and installation
Now that the frame is complete, it’s time to choose and install the decking materials for your deck. The choice of decking material will depend on your budget, maintenance preferences, and desired aesthetic.
One of the most popular decking materials is pressure-treated wood. This affordable option is widely available and easy to work with. However, pressure-treated wood requires regular maintenance, including staining and sealing, to prevent rot and decay.
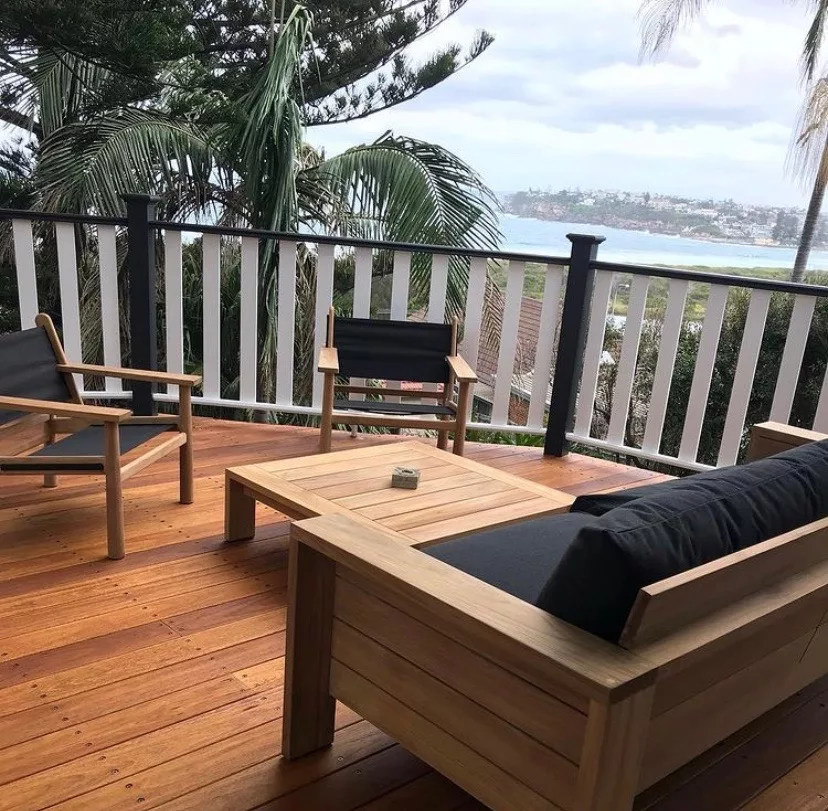
Spotted Gum and Blackbutt are natural, rot-resistant woods that offer a beautiful, warm-toned finish. These woods require regular maintenance to maintain their appearance and protect against decay.
If you prefer a low-maintenance option, composite decking is a great choice. Made from a combination of wood fibers and recycled plastic, composite decking offers durability and resistance to rot, insects, and warping. Composite decking comes in a variety of colors and textures, mimicking the look of natural wood.
PVC decking is another synthetic option that offers low maintenance and durability. It is resistant to moisture, stains, and fading, making it a great choice for high-traffic areas. PVC decking comes in a range of colors and styles, allowing for customization to suit your personal taste.
To install the decking boards, start by placing the first board against the house, ensuring a 1/8-inch gap between the board and the home for water drainage. Secure the board to the joists using galvanized screws or hidden fasteners, depending on your decking material.
As you install each subsequent board, use a carpenter’s pencil or a spacing tool to maintain consistent gaps between the boards. This will allow for proper water drainage and expansion and contraction of the boards.
Continue installing the decking boards, making sure to check for level and square as you go. Trim any excess length at the outer edge of the deck using a circular saw.
Deck railing and baluster installation

One of the most common railing options is a traditional wood railing. This can be constructed using pressure-treated or cedar lumber. Measure and cut the railing posts to the desired height, ensuring they are securely attached to the deck structure. Install the top and bottom rails, then insert the balusters, spacing them according to local building codes.
Another popular option is a metal railing, which offers a sleek and modern look. Metal railings come in various materials, such as aluminium, steel, or wrought iron. Follow the manufacturer’s instructions for proper installation, and ensure that the railing is securely attached to the deck structure.
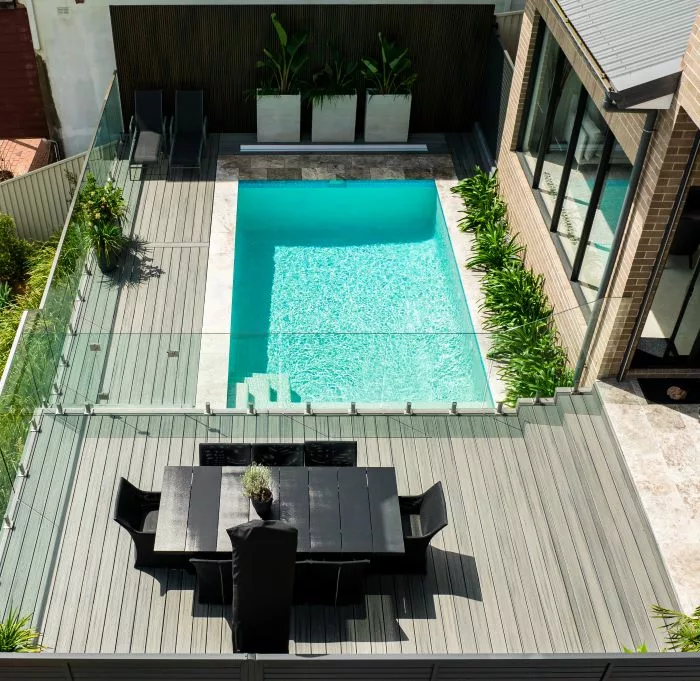
Glass panels are an excellent choice for an unobstructed view while maintaining safety. Glass railings typically consist of tempered glass panels held in place by posts or a frame. Consult a professional installer to ensure proper installation and compliance with local building codes.
Once the railing and balusters are installed, check for any wobbling or unsecured sections. Make any necessary adjustments and ensure that the railing is sturdy and meets safety standards.
Deck maintenance and care
To ensure that your deck stands the test of time, regular maintenance and care are essential. Proper maintenance will help prevent rot, decay, and damage caused by the elements.
Regularly inspect your deck for any signs of wear, such as loose boards, protruding nails, or rotting wood. Replace any damaged or rotten boards immediately to prevent further damage.
Depending on the type of decking material you have, maintenance tasks may vary. For pressure-treated wood, regular staining and sealing are necessary to protect against rot and decay. Follow the manufacturer’s instructions for the appropriate stain and sealer, and apply them as recommended.
Hardwood decks also require regular maintenance. Clean the deck surface with a mild detergent and water, and apply a protective finish every few years to maintain the wood’s natural beauty.
Composite and PVC decking require minimal maintenance. Simply clean the surface with a mild detergent and water as needed. Avoid using abrasive cleaners or pressure washers, as they can damage the surface of the boards.
Regularly sweep or use a leaf blower to remove debris from your deck, as leaves and dirt can trap moisture and cause mold or rot. Trim any overhanging tree branches to prevent debris accumulation and promote air circulation.
Deck safety considerations

Safety should be a top priority when building and using your deck. Here are some important safety considerations to keep in mind:
- Ensure that your deck meets local building codes and regulations. Consult with a professional or your local building department to ensure compliance.
- Install proper lighting to enhance visibility and prevent accidents. Consider using solar-powered or low-voltage LED lights for energy efficiency.
- Use non-slip decking material or apply a non-slip coating to prevent slips and falls, especially in areas prone to wet conditions.
- Install a gate or barrier if you have young children or pets to prevent them from accessing the deck unsupervised.
- Regularly inspect and maintain the railing and balusters to ensure they are secure and meet safety standards.
- Keep flammable materials, such as grills or fire pits, a safe distance away from the deck to prevent fire hazards.
By following these safety guidelines, you can enjoy your deck with peace of mind, knowing that it is a safe and inviting space for you and your family.
Conclusion and final tips for building the perfect deck
Congratulations! You’ve successfully completed the construction of your dream deck. Now it’s time to sit back, relax, and enjoy your outdoor oasis. But before you do, here are some final tips to ensure that your deck remains in top condition for years to come:
- Regularly inspect your deck for any signs of wear or damage. Address any issues promptly to prevent further damage.
- Clean your deck regularly to remove dirt, debris, and stains. Use a mild detergent and water or a deck cleaner specifically formulated for your decking material.
- Trim any overhanging tree branches to prevent debris accumulation and promote air circulation.
- Avoid dragging heavy furniture or sharp objects across the deck surface, as they can cause scratches or damage.
- Consider using furniture pads or rugs to protect the deck surface from scratches and marks.
- Plan for regular maintenance, such as staining and sealing for wooden decks, to ensure longevity and beauty.
With proper care and maintenance, your deck will provide you with years of enjoyment, enhancing the beauty and functionality of your outdoor space.
So grab your tools and get ready to embark on your deck-building journey with confidence. Let’s turn your outdoor space into a stunning oasis that you and your family can enjoy for years to come. Happy deck building!
Want to kmow more. Contact us and we’ll be happy to share some professional deck building tips with you.


